
Propagation, or the act of taking a portion of a ‘parent’ plant and growing a new plant from it, is the easiest way to both expand and share your plant collection. There are a wide variety of propagation methods, and which method you use will depend in part on the plant you are trying to propagate, but water propagation is both the easiest and prettiest method- especially if you’re just getting started with propagating- because it allows you to see the new roots as they form.

Before you get started, you’ll need to know what kind of plant you’re working with, since not every plant can be propagated in water. Not sure? Try an Internet search using some key description words (green, heart shaped leaves, vine, etc) and use the image results to see if you can find results that match your plant. Still puzzled? Ask your experienced plant friends, or stop by a local plant shop/nursery with a photo of your plant to help them identify your mystery plant.
Now that you know what you have, another internet search or look at a plant book can help you determine if your plant can be water-propagated.
Need a few easy-to-propagate plants that make a good starting point? Try:
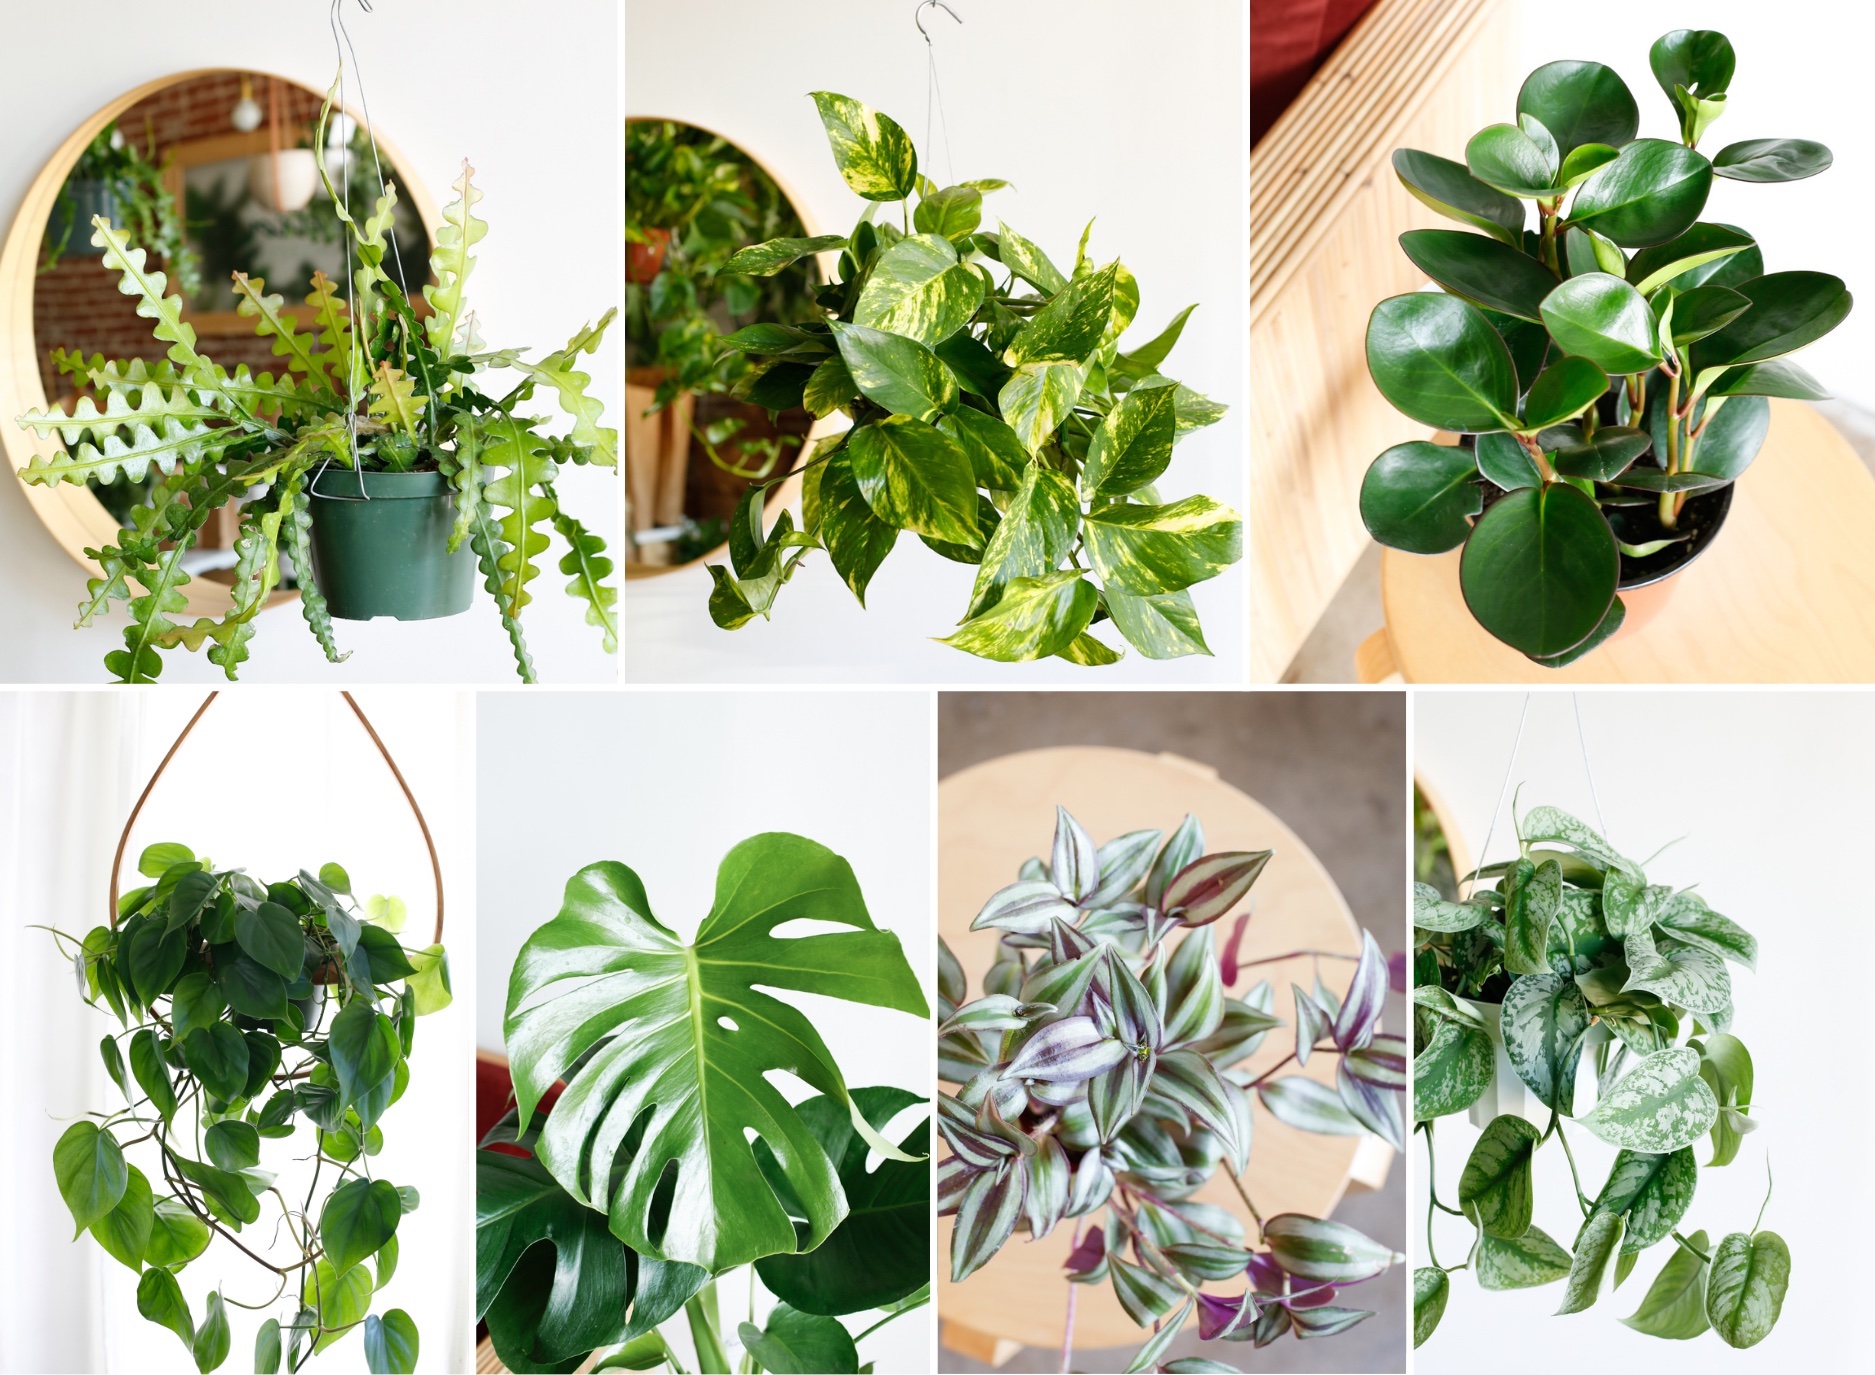
Epiphyllum, Epipremnum aka ‘Pothos’, most Peperomia, Philodendron, Monstera, Tradescantia aka ‘Wandering Dude’ or ‘Inch Plant’, Scindapsus aka ‘Satin Pothos’.
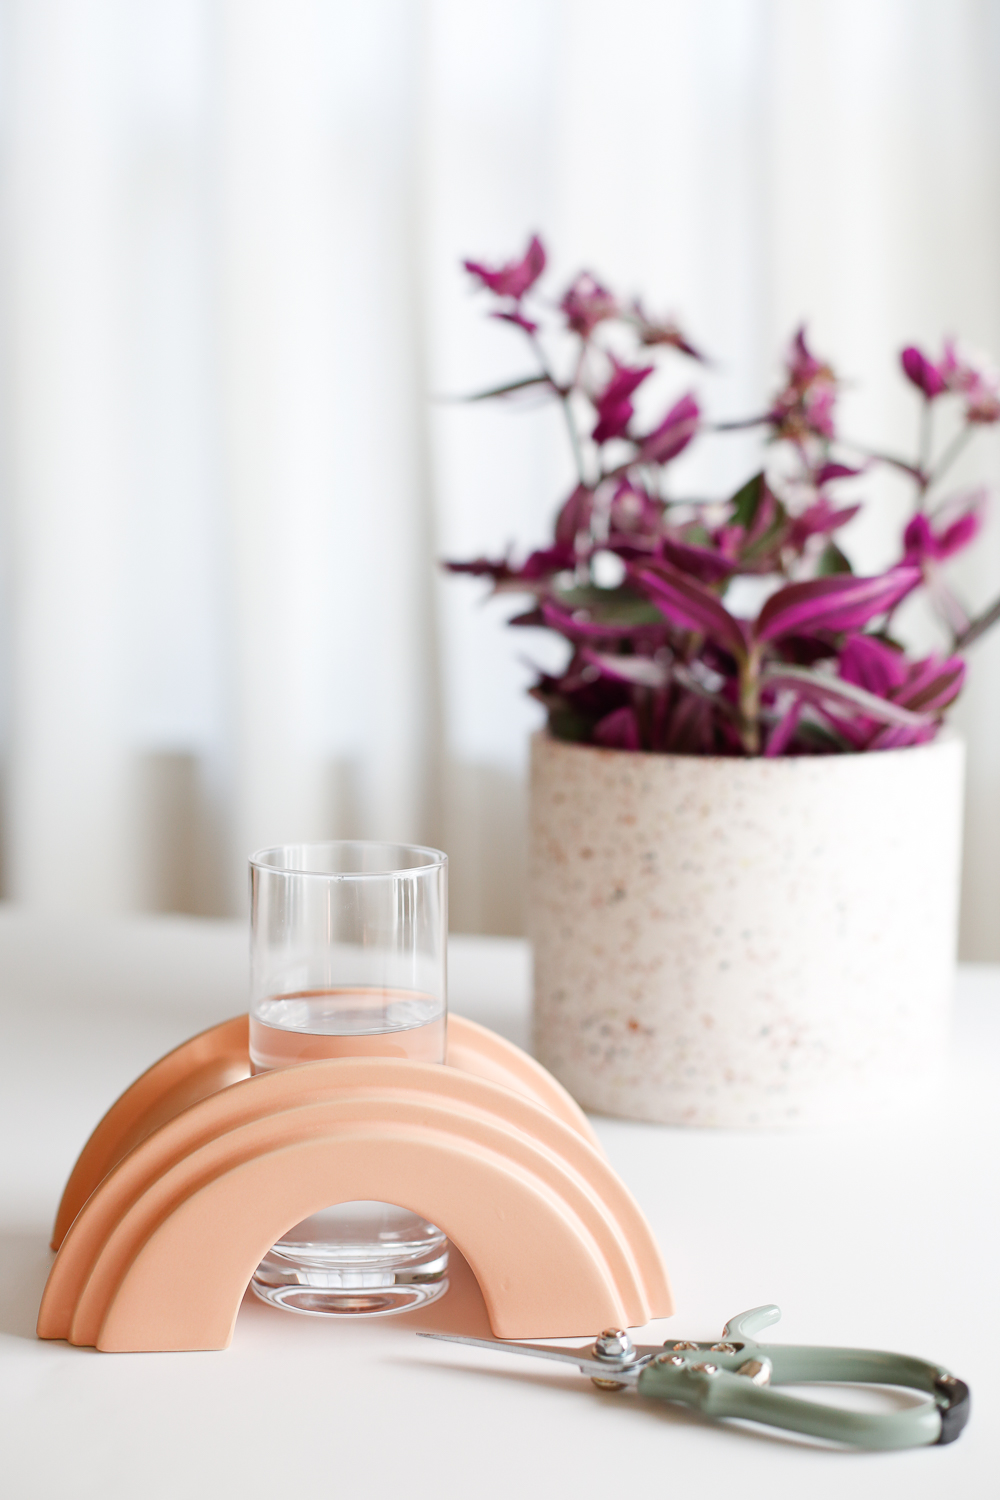
Once you’re confident your plant can be propagated in water, gather up your supplies.
You’ll need:
– Pruning shears, scissors, or a knife- be sure they are very sharp and clean since dull blades can mash stems, preventing them from taking up water; and dirty tools can transmit diseases from other plants
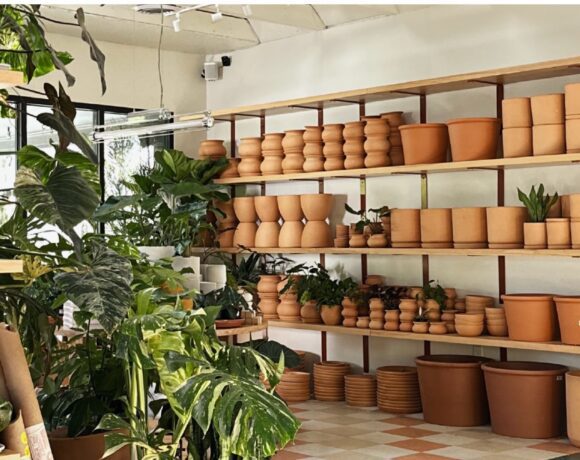
– Vessels- preferably glass
– Fresh water- tap water is fine, unless your water is softened, in which case you’ll want to use distilled or non-softened tap water
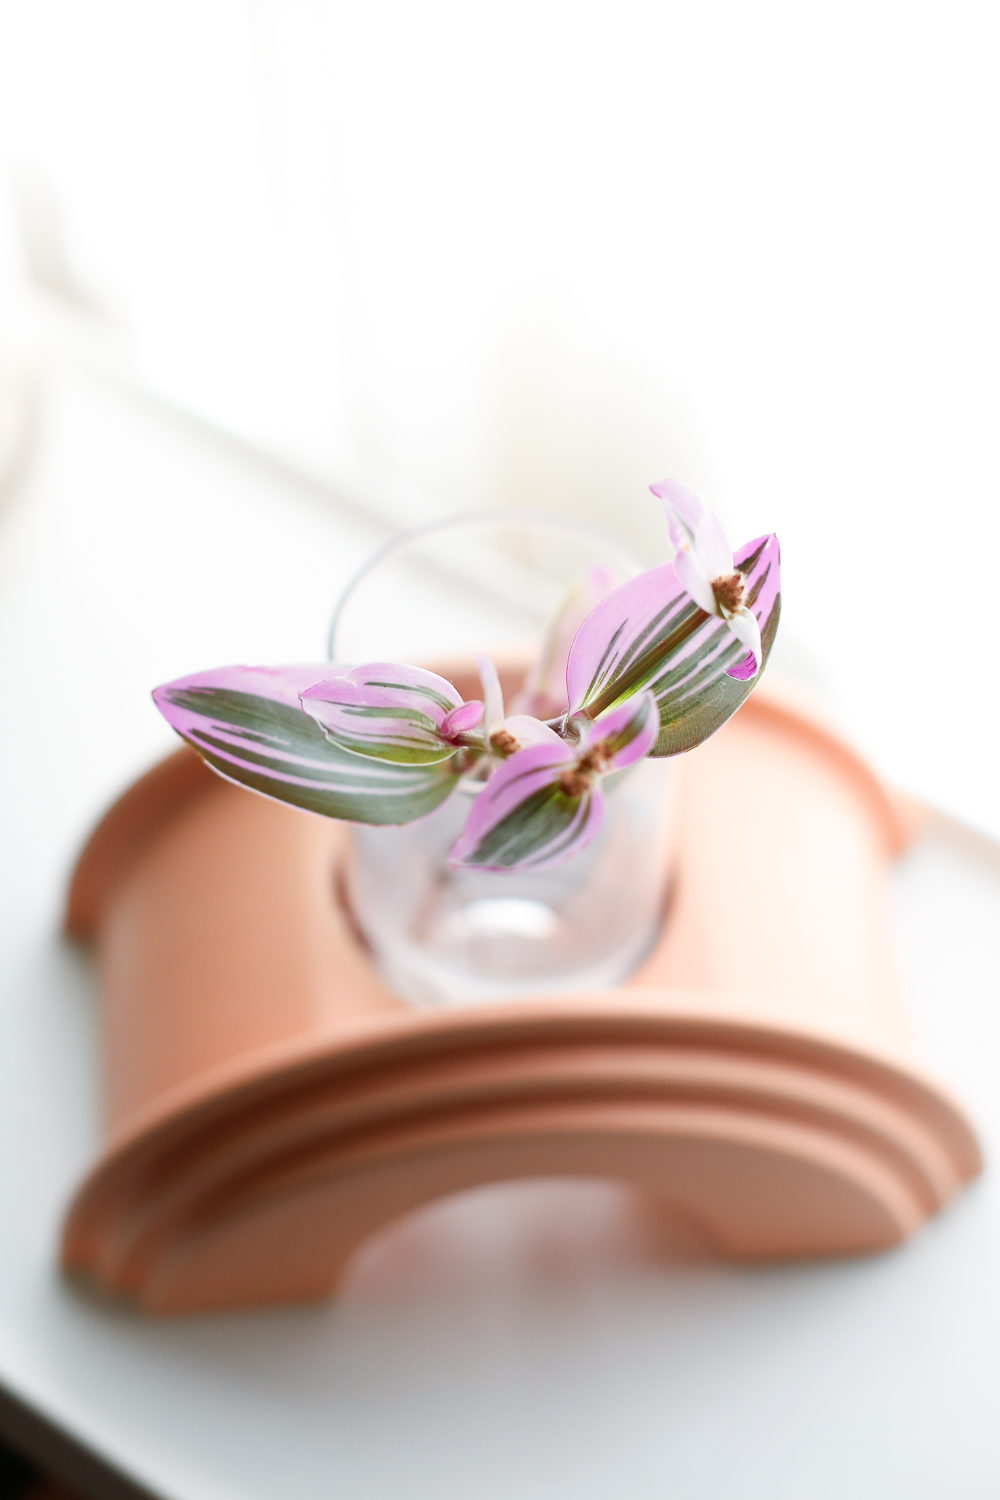
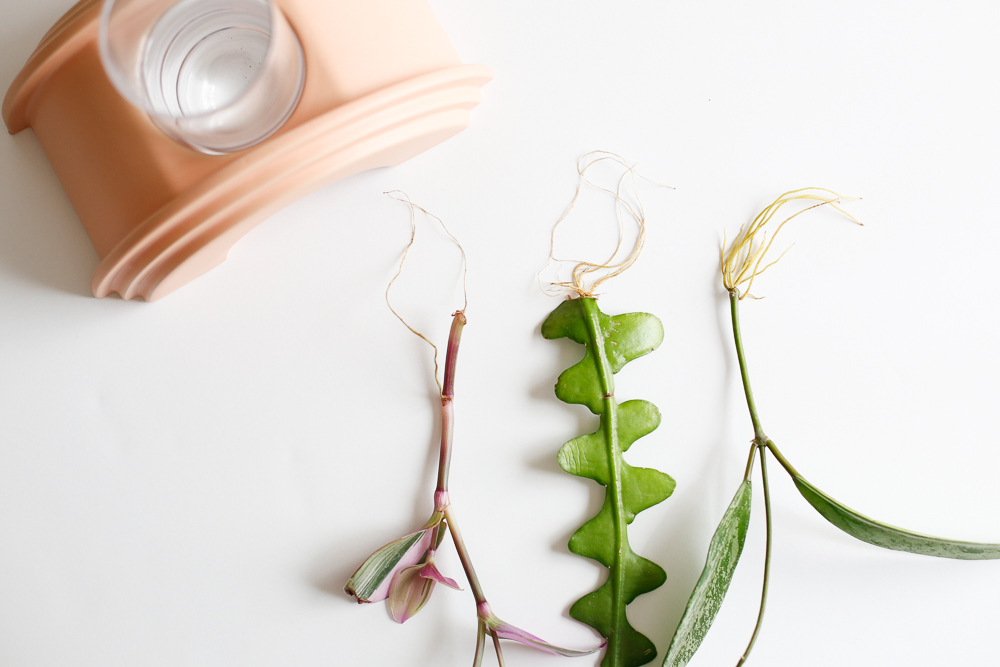
Now you’re ready to propagate! First, take a cutting of your plant by finding a portion of your plant that is flexible enough to still bend, but not so tender it snaps when bent. This will give you the best chance of seeing roots form. Now find the ‘nodes’ which are little bumps that stick out along the vine or stem, or the area where new stems branch off from the main one.
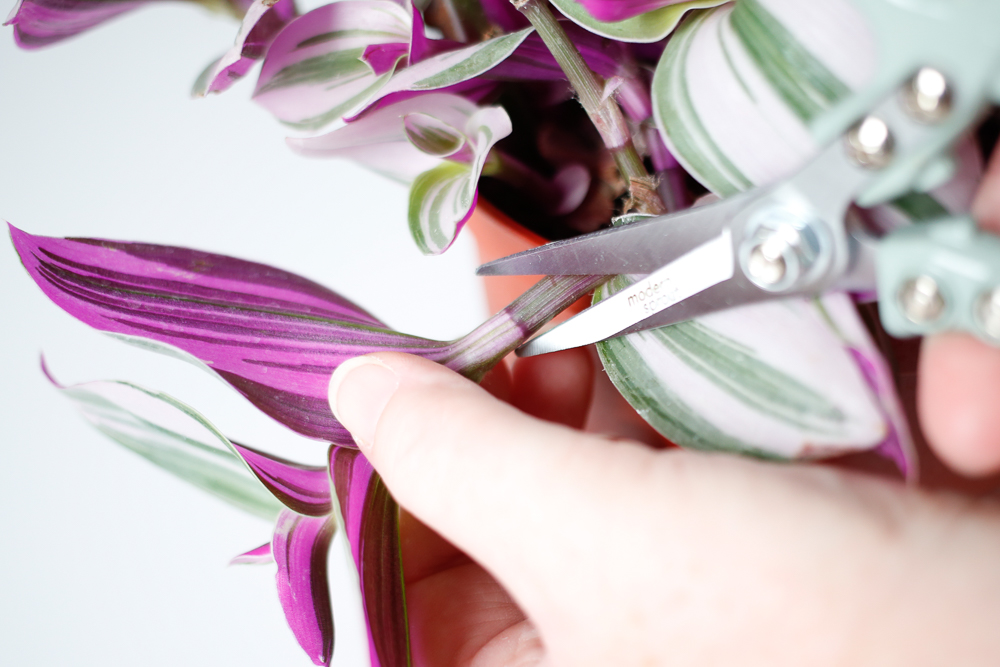
Using your shears or knife, cut cleanly just above a node. This is the spot from where the new roots will form. To ensure success, ensure you have at least two nodes on the cut portion of the stem- this way if one fails, you can cut again and try once more. After taking your cutting, cut the remaining stem on the ‘parent’ plant back to the next node so that new growth can form on the parent plant too.
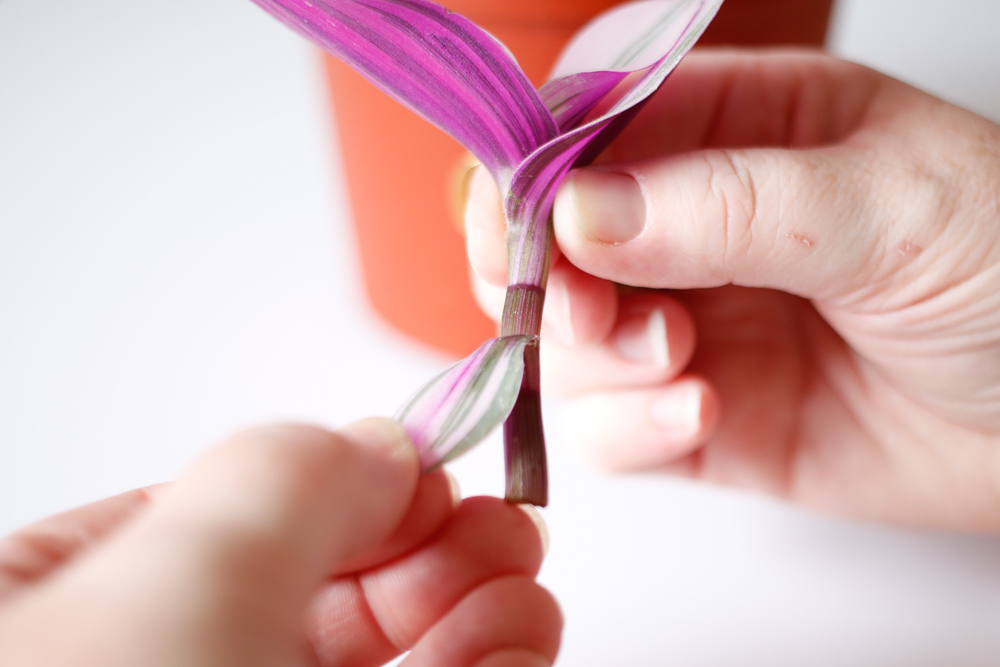
Before placing your cutting in water, remove any leaves that will lie below the waterline- they’ll rot if they sit in the water, which will cause bacteria to grow, contaminate the water, and hinder new roots from forming.
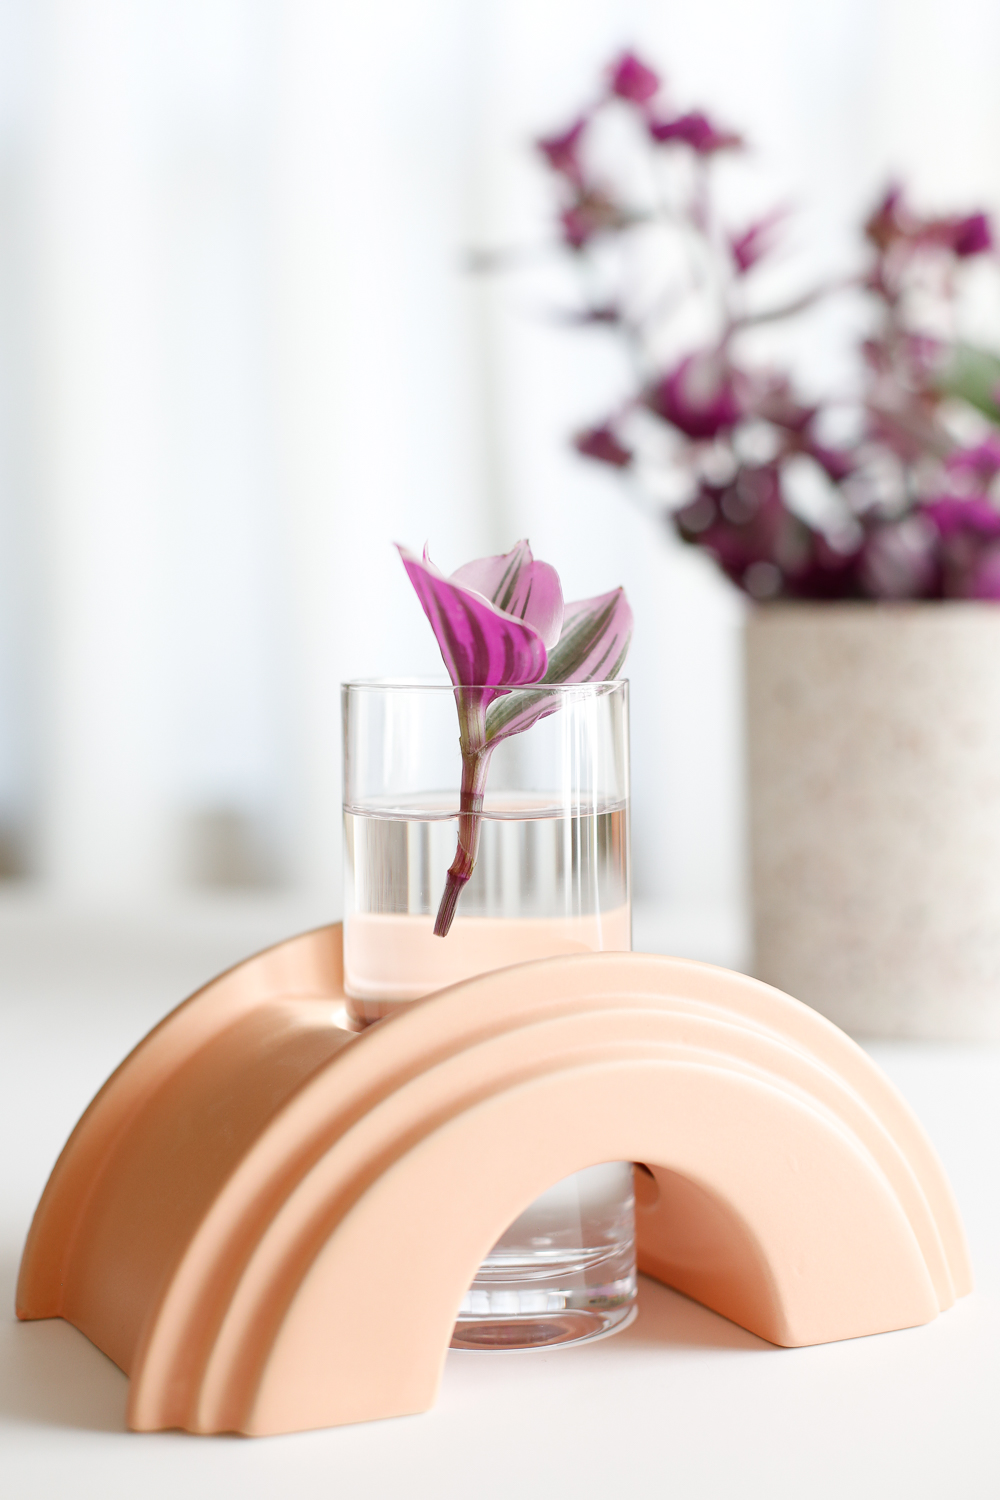
Now, fill your vessel with enough clean water to reach the first nodes. Place the vessel in an area that gets bright filtered light, but no direct sun. Monitor the water level to make sure the nodes are kept in water. Change water once a week or so to keep bacteria and algae at bay and ensure healthy roots.
Now, you wait. Roots should form anywhere from two weeks to a few months, but check the cutting occasionally to make sure the stem doesn’t turn black or slimy at the bottom- which is a sign of rot. If it does rot, just trim that portion away, change the water and try again. If you don’t see any roots after two months, but the cutting still looks healthy, cut just below the next node on the plant and try again- sometimes nodes can fail to produce roots, which is why it’s always good to make sure you have several nodes on a cutting.
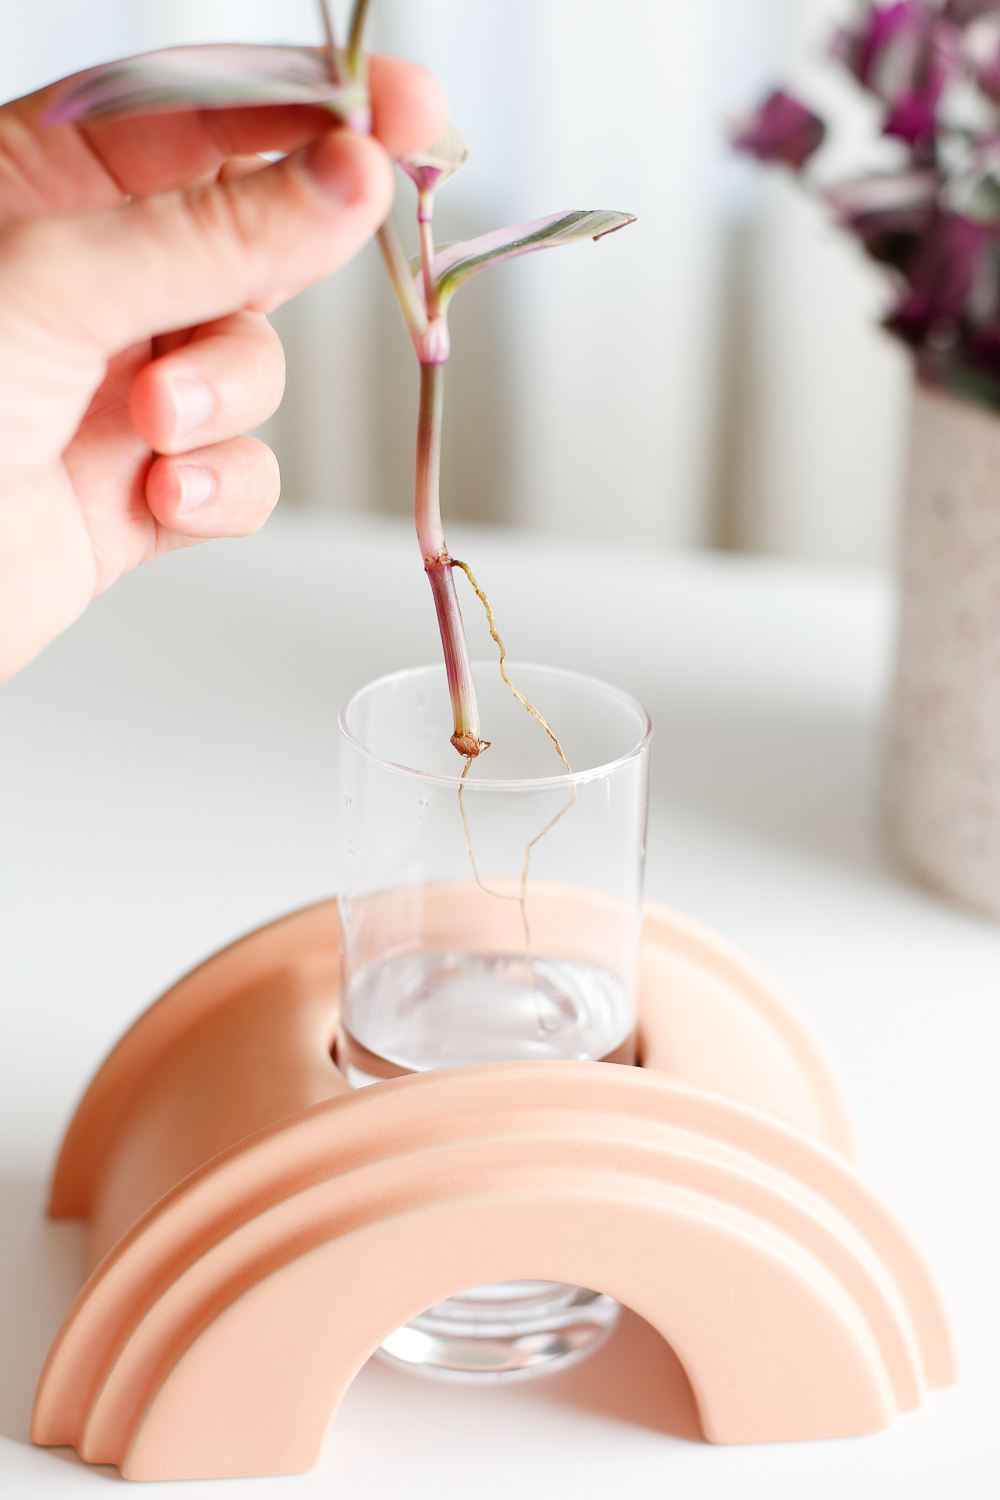
Once roots form, if you plan to transplant to potting soil, wait until they’re about an inch long, then move to a small pot of lightly moist soil. If you’d prefer to keep your cutting in water long-term, known as ‘hydro-culture’, let the roots keep going as long as the vessel can contain them. Just remember that you’ll need to add liquid plant food to the water occasionally to add nutrients that would normally come from the soil.
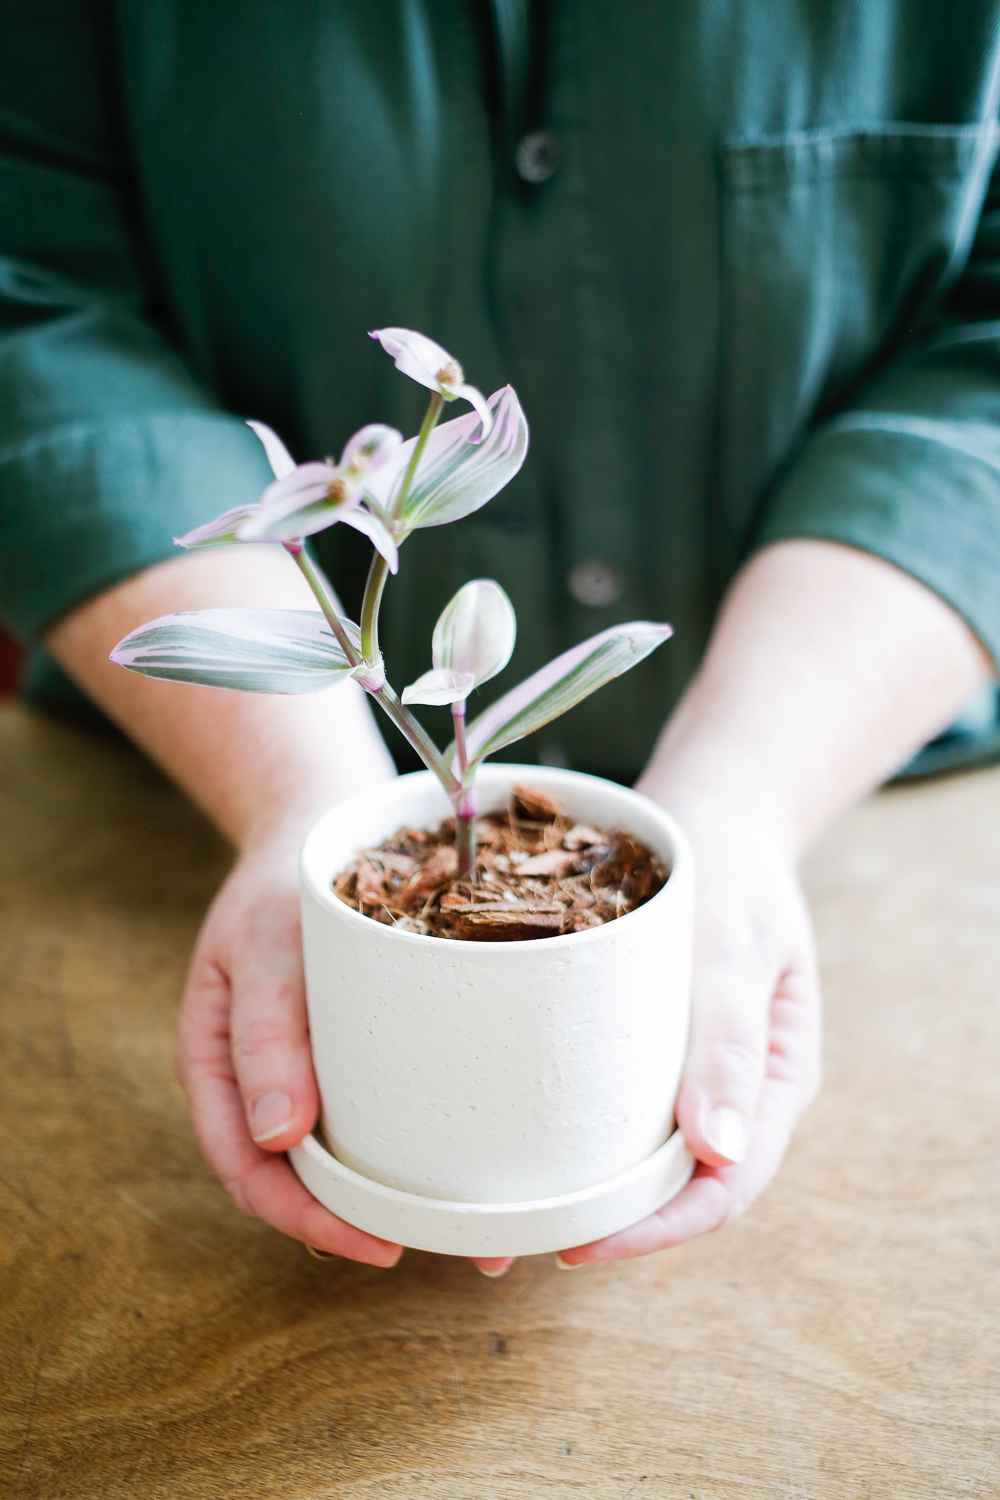
Once potted, recently propagated plants will be more vulnerable than mature plants. Be sure to provide the ideal conditions for the specific plant- water, light, etc.
If your propagation fails, don’t give up- just try again! Propagation can be a bit of an experiment and you’ll learn something new each time- even from failed attempts. Making a few mental (or actual) notes along the way can help determine what went wrong and guide you to any changes you should make next time. Ultimately- propagation should be a fun way to grow more plants, share plants with others, and learn a little something too. Enjoy the process!
Guest writer: Danae Horst, Folia Collective
Photography: Danae Horst and Jacob Fuentes-Navarro


COMMENTS ARE OFF THIS POST