

Supplies used:
- Cold rolled streel, welded
- 12’ diameter circle
- 1’ diameter circle
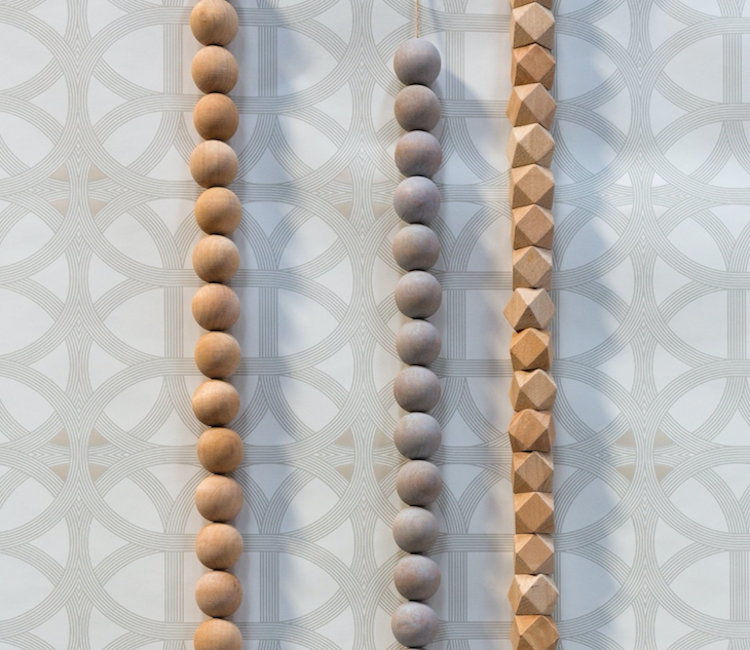
- AD wood bead garland
- 80 round
- 40 geometric
- Zip ties, spray painted silver to match steel frame
- Metal cables to attach frames to ceiling
- Ferrules to clamp cables
Installation of this chandelier is simple and tricky at the same time; 3-4 people is an ideal amount to install the 12’ frame. Once that is installed, one person can easily tackle the rest (but two would speed up the process!)
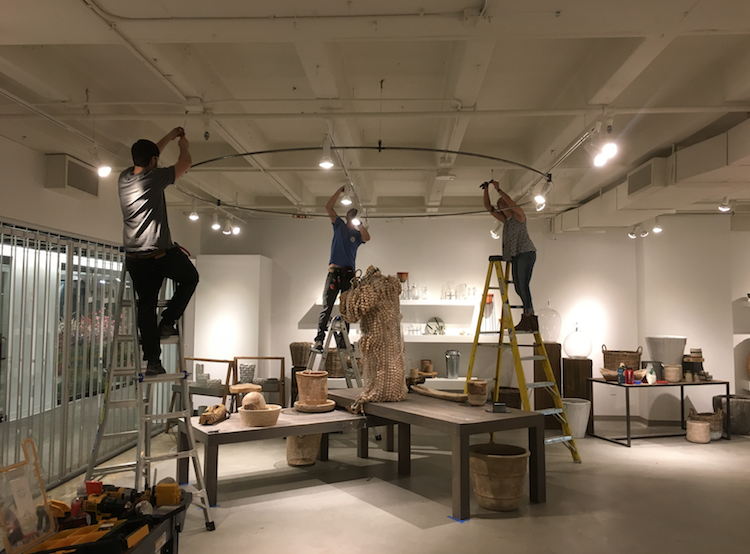
Due to the weight of the garland (each garland is 1lb, so using 120 garland = 120 lbs), the frame should be supported from no less than 4 points to the ceiling – both with the large 12’ frame and the small 1’ frame. Once the large frame is installed, find the centerpoint to install the small circle. Similarly install using 4 points.
Now to the fun part! Simply attach the garland utilizing zip ties from the small frame to the large frame… again and again. Our advice is to equally disperse the weight when installing, so hop from one side to the other with every 10-15 strands of garland.
Voila!


COMMENTS ARE OFF THIS POST